First, make sure you enter my giveaway!! It ends June 4! Anyway, today's post was so fun for me, it's a hair tutorial on how to get a "mermaid tail" braid. It's super easy and doesn't take long at all! I've been getting tweets and comments asking for more tutorials, and I love braiding my hair when I'm bored, so here's what I came up with! :) I hate wearing my hair down if I'm not going out at night or something, so I braid/fishtail it all the time. I typically go for a braid though, because honestly I hate doing my hair if it takes more than 10 minutes on most occasions. I hope you all enjoy this tutorial! Comment and let me know if you want to see more! :)
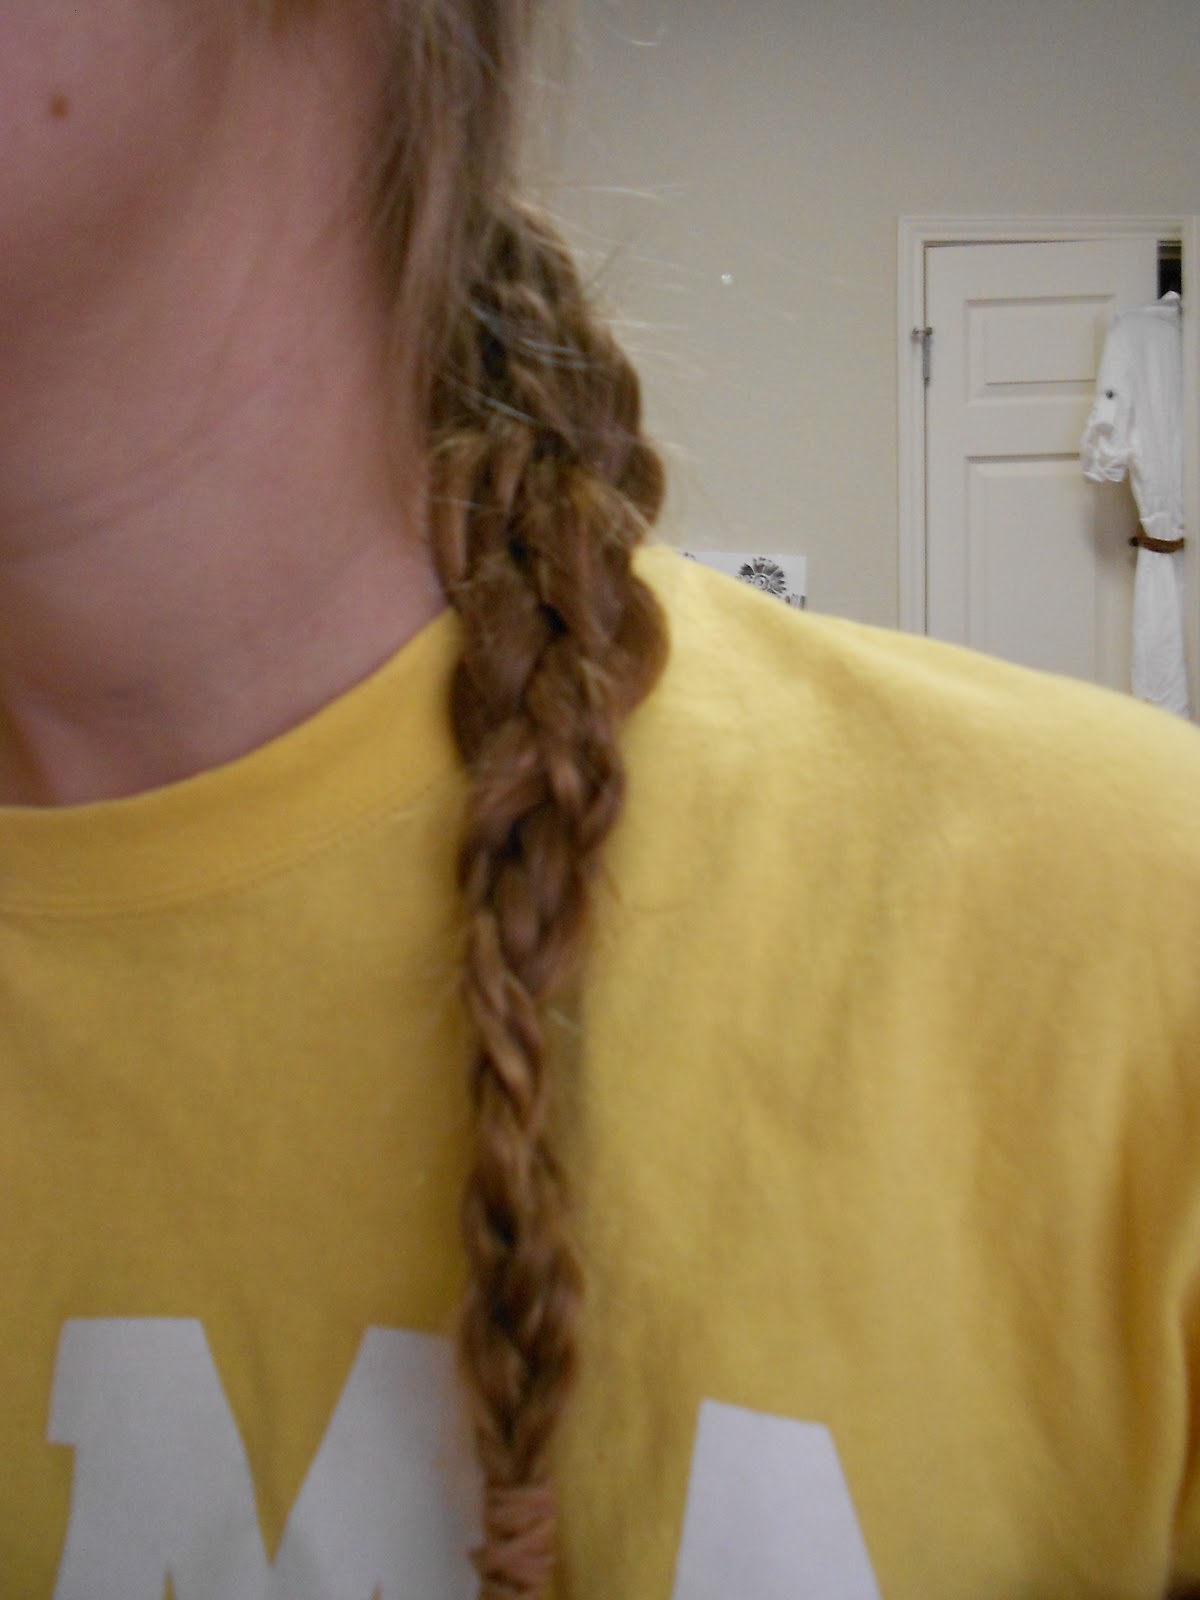
Here's the finished look:


First, make sure there's not knots in your hair. Then, pull all your hair to one side.

Split your hair into two sections and tie one of them back

Now, you're going to do an inverted braid on one of the sections. An inverted braid is just like a normal three strand braid, except you're going to cross each strand underneath instead of over the middle piece.

Do the same with the second section

Now that your braids are done, you're going to pull on the braids and loosen them up a little. Next, you're going to take bobby pins and pin together the two braids. Do this all the way down your braids

This is what your braids should look like before you push the bobby pins together. Make sure to place them in your hair from the back so there's minimal visibility of them from the front.

Push your bobby pins together, and use a hair tie to combine them together at the bottom. Then take our the two hair ties that were holding your braids together separately and you're done!

Like I said, this is an extremely easy look to achieve. You can wear it on a casual day or dress it up at night by pulling out some stray pieces and curling them!
If you try this look, send me a picture!! :)
Let me know if you want to see more hair tutorials!
xo Sarah
*Find where to contact me here